
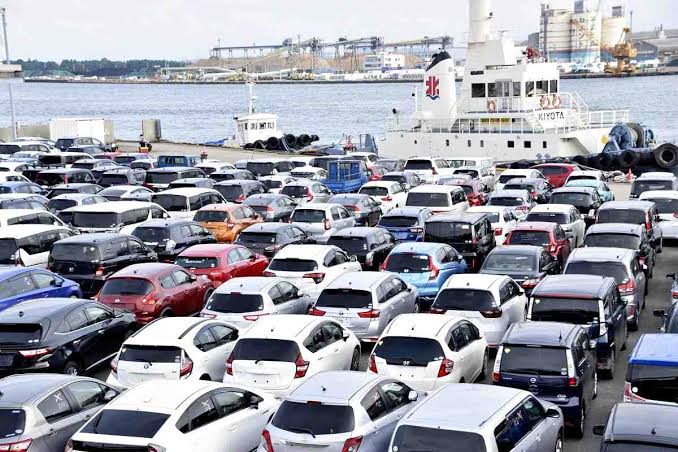
Exporting a vehicle from Japan becomes much easier when each stage is handled in the correct order. The process normally begins with confirming the buyer’s destination country, vehicle eligibility, budget and preferred shipping method.
1. Confirm the destination-country rules
Before purchasing a vehicle, the buyer should check the destination country’s age restrictions, steering-position rules, emission requirements, inspection standards, import taxes and document requirements. These rules differ by country and may change, so confirmation should happen before payment.
2. Select and verify the vehicle
A vehicle may be selected from dealer stock, private stock or a Japanese vehicle auction. Important checks include the chassis number, manufacture year, mileage, condition, accident history, auction grade and available export documents.
3. Confirm the total estimated cost
The vehicle price is only one part of the transaction. The buyer should also consider inland transportation, inspection, deregistration, export documentation, port handling, freight, insurance and destination-country charges.
4. Prepare the vehicle for export
After purchase, the vehicle is transported to the exporter or port yard. The exporter arranges deregistration and prepares the documents required for export.
5. Select RORO or container shipping
RORO shipping is commonly used for standard running vehicles. Container shipping may be more suitable for valuable vehicles, non-running units, parts or combined cargo.
6. Receive and check the shipping documents
The final document package commonly includes the commercial invoice, export certificate and bill of lading.
7. Arrange destination clearance
Before the vessel arrives, the buyer should appoint a licensed customs broker or clearing agent where required.
Careful preparation is the key to a smooth vehicle export. GSAT Japan recommends confirming the destination regulations and complete estimated cost before purchasing any unit.